
Italian Bread Recipe


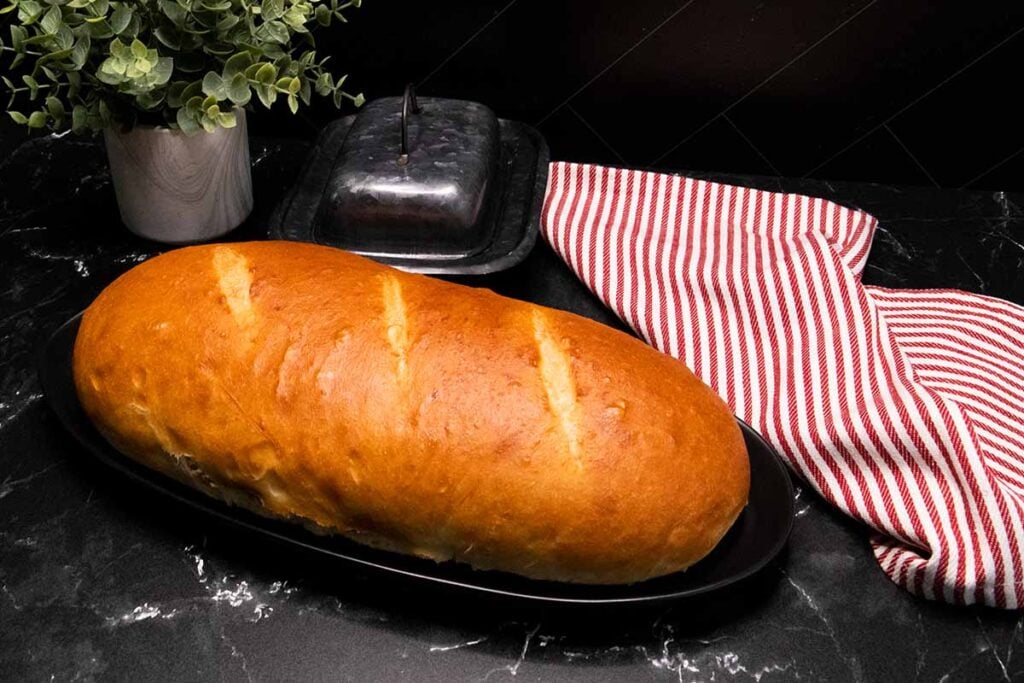
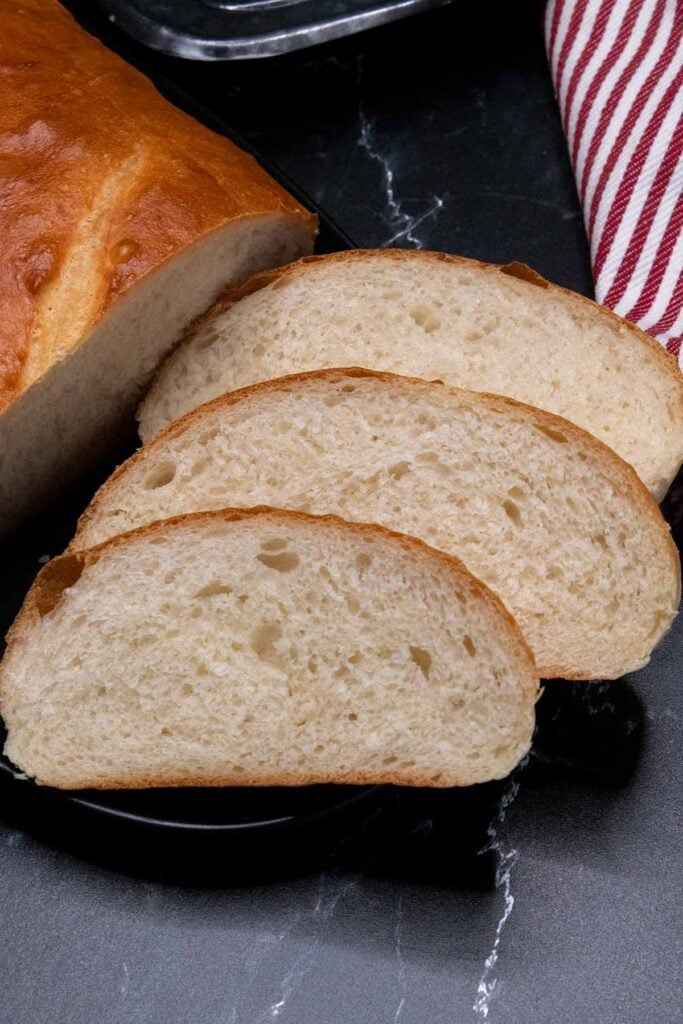
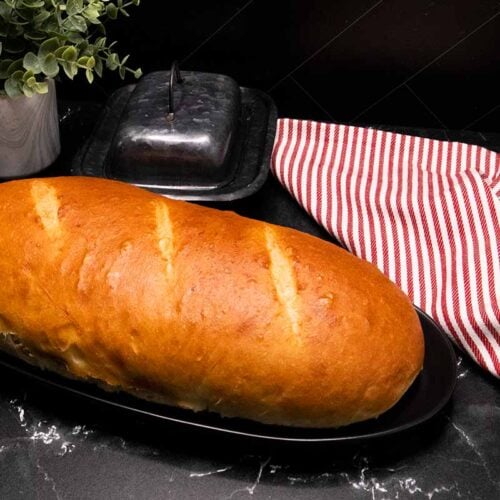
This Italian bread recipe has a fluffy, soft, tender crumb on the inside with a chewy crust on the outside. Warm, fresh homemade Italian bread just cannot be beaten!
I don’t remember my mother or aunts baking homemade Italian bread.
But I do vaguely remember our Great Aunt Mary always showing up with her fresh-from-the-oven homemade bread and crocheted socks! Haha
Yes, crocheted booties, and we loved them.
Why You’ll Love This
Slathered in European butter, dipped in seasoned olive oil, or just plain it doesn’t get any better.
It’s perfect served along with any of your favorite Italian dishes.
This Italian bread recipe is super easy to make and done in about 2 hours.
So you can make this bread any day of the week.
Ingredients
- Active dry yeast – If using instant, there is no need to reactivate the yeast in warm water.
- Water – You’ll use warm water to activate the yeast and the hot water (not boiling) in the recipe.
- Granulated sugar, olive oil, and kosher salt
- Bread flour – We find that bread flour yields a more tender crumb, but you can use all-purpose flour.
- Egg – For the egg wash.
Tips
- Measure the flour correctly. Aerate, spoon, and swoop level.
- Warm water in bread recipes needs to be around 110 degrees F. If the water is too hot, it will kill the yeast, if it’s too cool, it slows the rising process.
- Use the paddle attachment of your stand mixer. The dough hook doesn’t mix this dough well enough.
- Resist adding more flour it will make the bread too dense.
- We like to use our oven light when rising dough. Just turn the oven light on while mixing the dough and it’s warm enough but not too hot to help the dough rise.
How to Make Italian Bread Recipe
We start by proofing the active dry yeast with warm water. The warm water should be around 105 degrees F to 110 degrees F when making yeast bread and using active dry yeast.
Dissolve the active dry yeast and 1/4 teaspoon granulated sugar in 1/4 cup of warm water (110 degrees F).
Let it stand to proof for about 5 minutes. It should be foaming on the top.
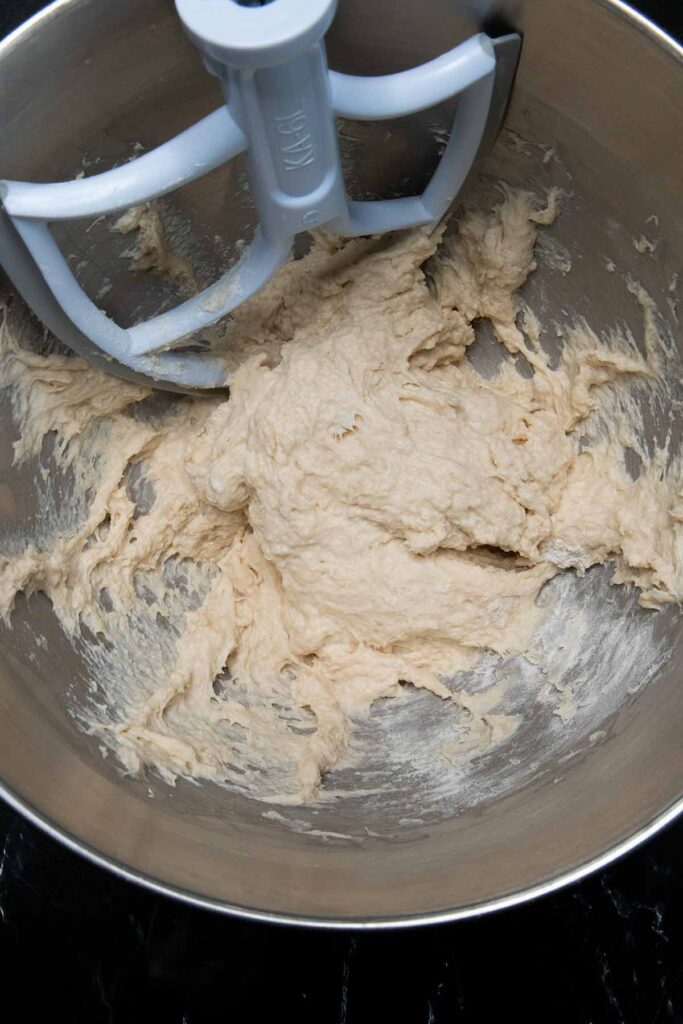
In a large bowl of a stand mixer, combine 1 cup of hot water, 1 tablespoon of granulated sugar, kosher salt, and olive oil.
Add 1 1/2 cups of bread flour and mix on low with the paddle attachment.
Add the yeast mixture and mix on low to combine.
We found that the dough hook for the stand mixer didn’t mix the dough well enough.
Using the paddle attachment was the best way. You can also mix this by hand if desired.
note
You will be using hot tap water, not boiling water. Don’t worry when added to the bowl with the other ingredients, it cools down and won’t kill the yeast.
Add the remaining 1 3/4 cups of flour and mix on low until well combined.
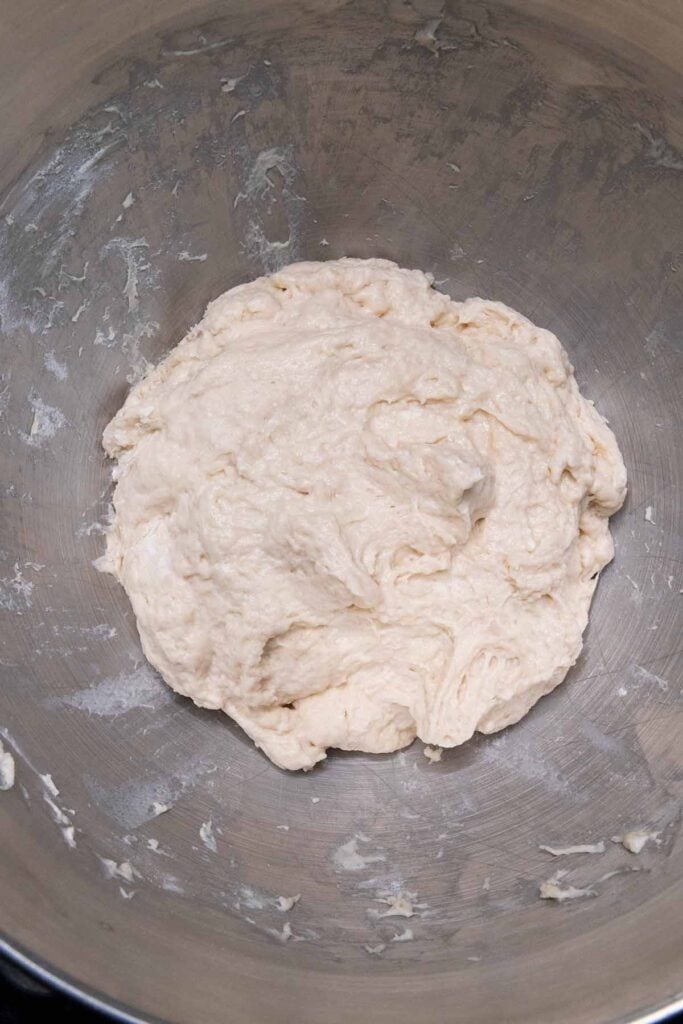
The dough will be very sticky at this point. Scrape down the sides of the bowl, cover, and let rise for 1 hour.
This bread dough is very soft but should be easy to handle. Resist adding more flour.
Prepare a cookie sheet or baking sheet with parchment paper.
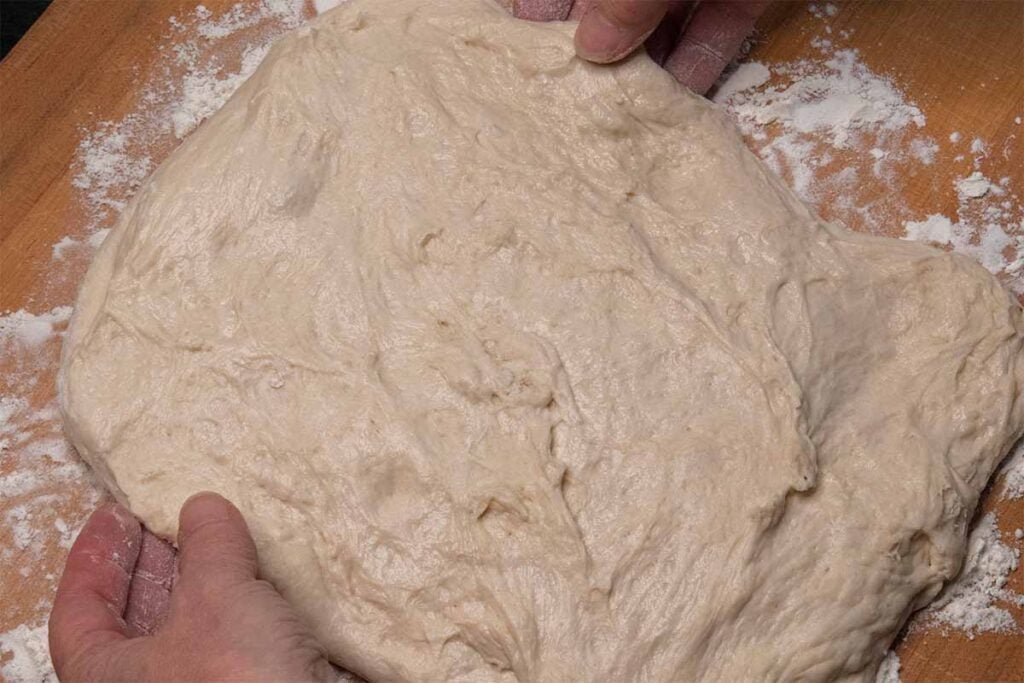
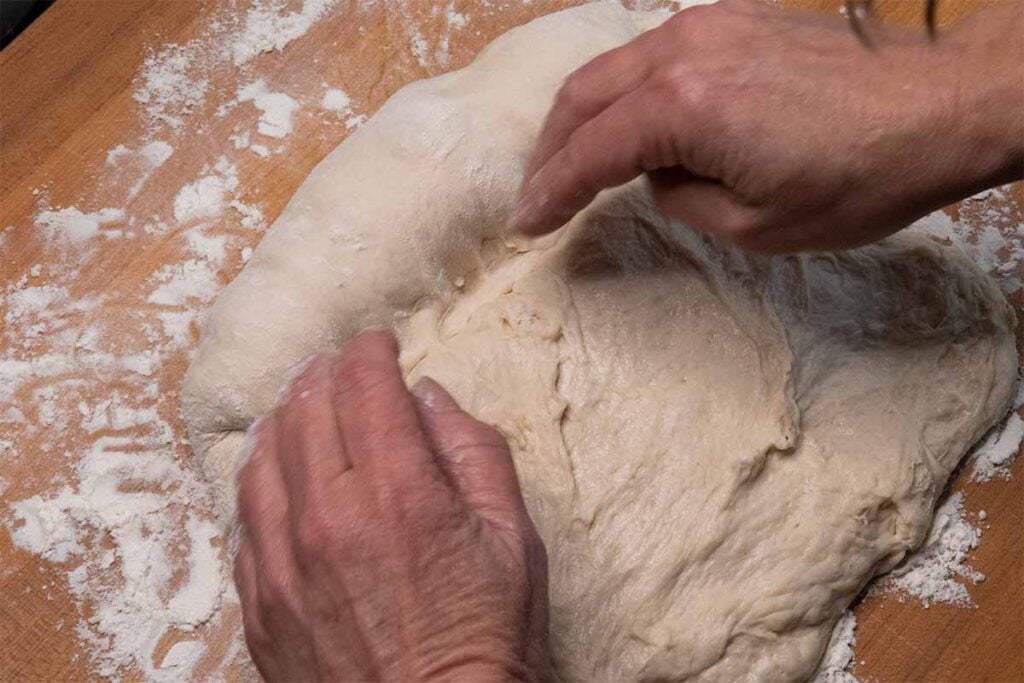
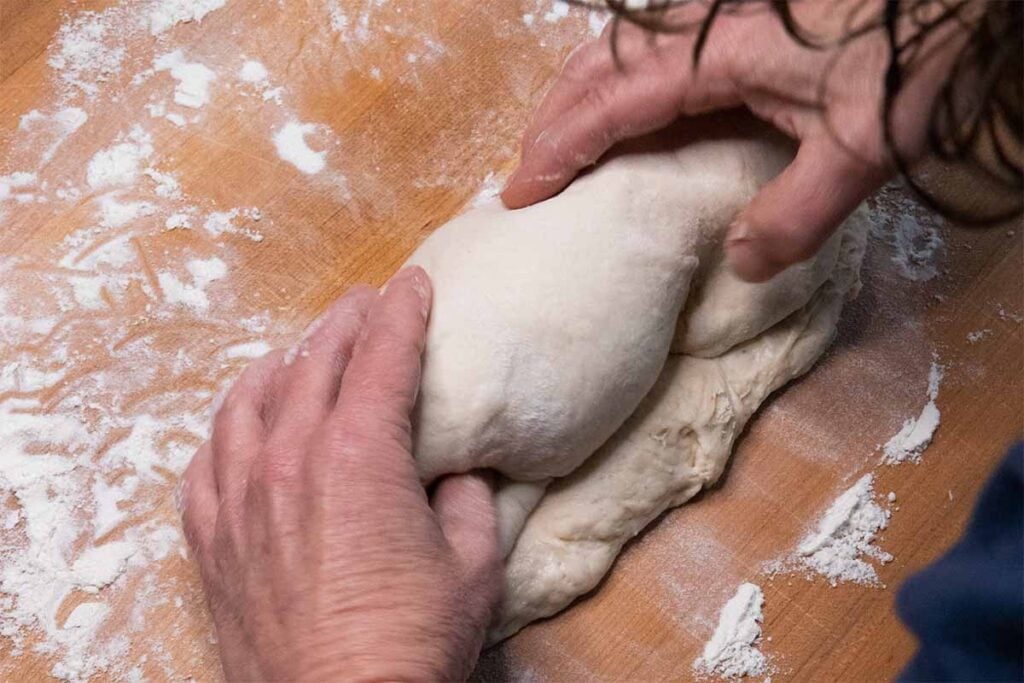
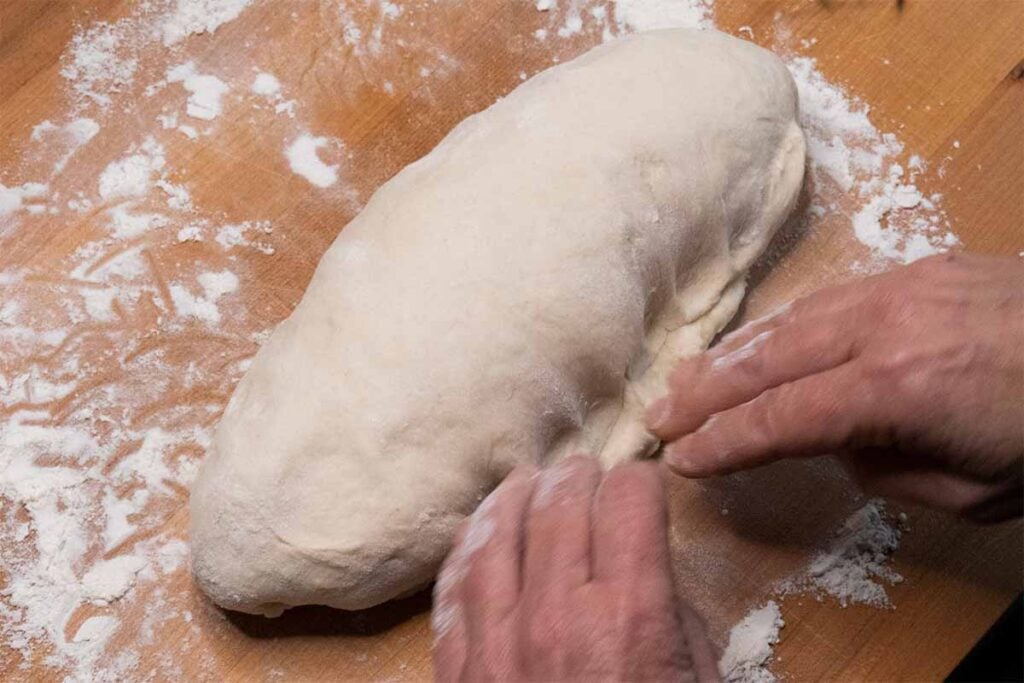
After the one-hour rise, scrape the dough onto a lightly floured surface or large cutting board.
Gently flatten the dough into a rectangle.
Start rolling the dough toward you, jellyroll style. Gently seal, and fold in the two corners after each roll.
Seal the seam and tuck the ends under.
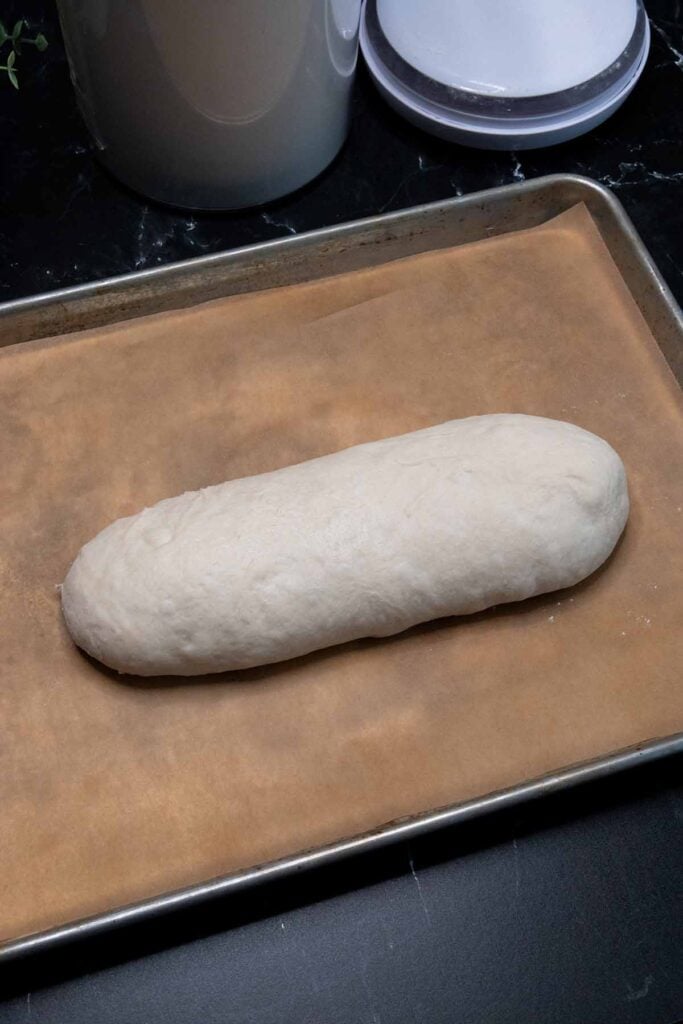
Place seam side down on the parchment-lined baking sheet. Cover and let rise another 30 minutes.
Meanwhile, preheat the oven to 375 degrees F. Whisk a large egg with 1 tablespoon of water.
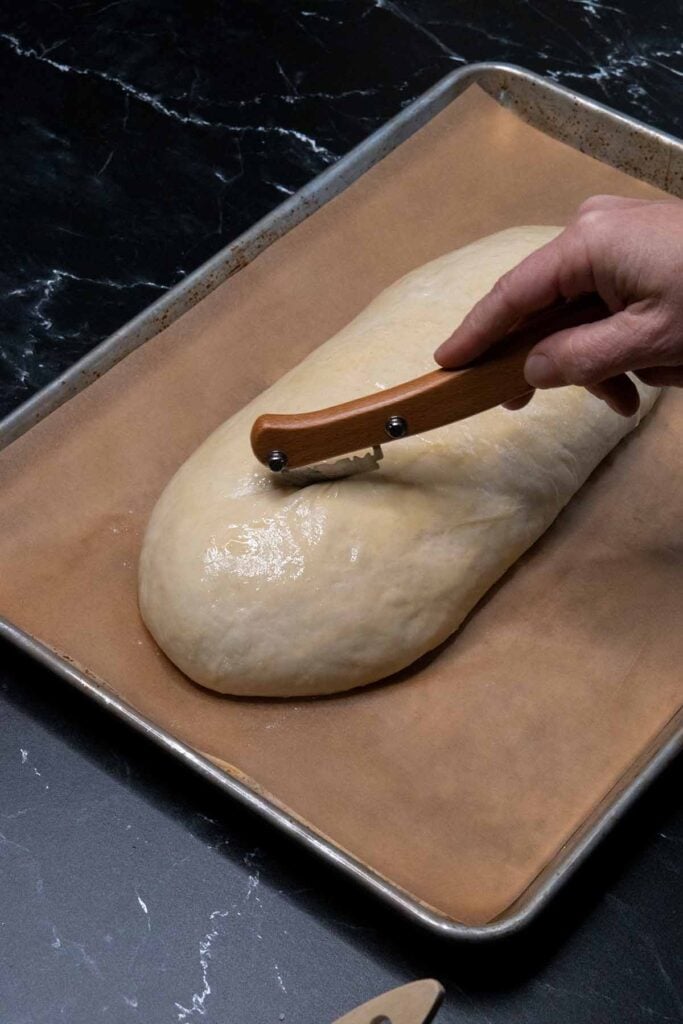
After the 30-minute rise, brush the loaf with the egg wash, and using a bread lame or sharp knife, make three or four cuts diagonally across the top of the loaf.
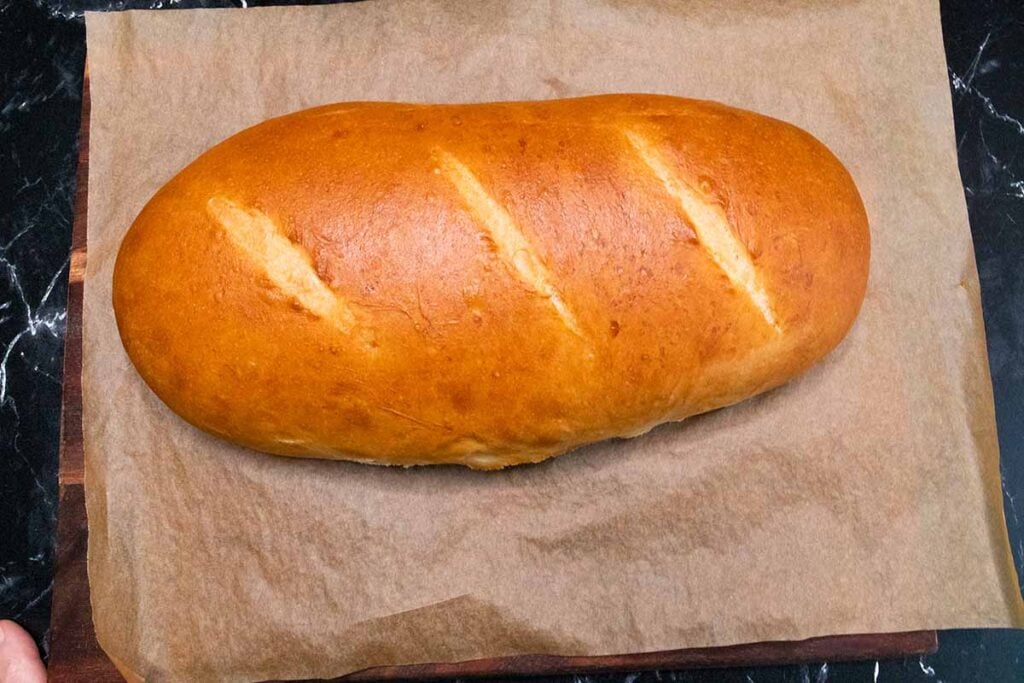
Bake for 20 to 25 minutes until golden brown.
Allow the bread to cool for at least 15 minutes before slicing. (if you can)
When baking the bread, we found it didn’t make any difference in the outcome of using a pan of water in the oven or even spraying the oven with water.
This is a great recipe because it’s pretty darn simple and is ready in a couple of hours. Fresh Italian bread every day!
Slice and enjoy warm, pillowy soft homemade Italian bread!
When refrigerating the dough it will continue to rise slowly. If you want to refrigerate only do so for up to 24 hours.
You can freeze the dough, wrapped tightly in plastic wrap, and store in freezer-safe bags for up to 3 months. When ready to bake thaw at room temperature for about 4 hours, then bake as instructed.
Store any leftover homemade Italian bread in an air-tight container or bag at room temperature for about 4 days. For longer shelf life, refrigerate the bread for up to 7 days.
Freeze in a freezer-safe bag or container for about 1 month for best quality.
Other Great Bread Recipes
Italian Bread Recipe
Ingredients
To Proof the Yeast
- 1 packet Active dry yeast 2 1/4 tsp
- 1/4 cup Warm water
- 1/4 tsp Granulated sugar
For the Dough
- 1 cup Hot water Hot tap water, not boiling
- 1 tbsp Granulated sugar
- 1 1/2 tsp Kosher salt
- 1/4 cup Olive oil
- 3 1/4 cups Bread flour divided
Instructions
- Dissolve the active dry yeast and 1/4 teaspoon granulated sugar in 1/4 cup of warm water (110 degrees F). Let it stand to proof for about 5 minutes. It should be foaming on the top.
- In a large bowl of a stand mixer combine 1 cup of hot water, 1 tablespoon of granulated sugar, kosher salt, and olive oil. Add 1 1/2 cups of bread flour mix on low with the paddle attachment. Add the yeast mixture and mix on low to combine.
- Add the remaining 1 3/4 cup of bread flour and mix on low until well combined. The dough will be very sticky at this point. Scrape down the sides of the bowl, cover, and let rise for 1 hour. (This bread dough is very soft but should be easy to handle. Resist adding more flour.)
- Prepare a baking sheet with parchment paper.
- After the one-hour rise time, scrape the dough out onto a well-floured work surface or large cutting board. Gently flatten the dough into a rectangle. Start rolling the dough toward you jellyroll style, gently seal, fold in the two corners after each roll. Seal the seam and tuck the ends under.
- Place seam side down on the parchment-lined baking sheet. Cover and let rise another 30 minutes.
- Preheat the oven to 375 degrees F. Whisk a large egg with 1 tablespoon of water.
- After the 30 minute rise brush the loaf with the egg wash and using a bread lame or sharp knife make three or four cuts diagonally across the top of the loaf.
- Bake for 20 to 25 minutes until golden brown. Allow the bread to cool for at least 15 minutes before slicing.
I use instant yeast and add it right into the flour, and since there is no activating the yeast, would I just use the recipe 1 cup water and 1 tbsp sugar or also include the water and sugar that would have been used in the yeast activation?
Also, for those who weigh the ingredients, 1 cup spooned and leveled flour = 120 grams, which would be 390 grams flour for the 3 1/4 cups in recipe. If using 1 cup water = 250 grams, the dough hydration would be approximately 71%, which would create the sticky dough required in the recipe.
We recommend also adding the 1/4 cup of water used to activate the yeast, even when using instant yeast.
Thank you so much Leigh for the clarification and for your quick reply !
My pleasure. 🙂
It was tasty, but didn’t really rise very much, then again I don’t really bake bread often compared to baking cookies and cakes all the time. I do apologize ton of this, I must’ve done something wrong?
Easy recipe, very good flavor and good chew.
Been making bread for several years and have tried lots of different recipes. I always try to go for the simple versions and some are successful and some not so much. All I’ve tried are definitely affected by things like humidity, quality of flour, etc. This recipe I’ve tried many times and each time it has turned out great. For me, quick rise yeast seems to work better than any others and I don’t have to worry about proofing. I also make it in a standard bread pan and it comes out looking like it just came out of a bakery. Great recipe, easy to make, and tastes fantastic.
Thanks, Big Al!!
I tried it today and find it is a bit dense and the feel in mouth is doughy.
Do I need to ignore the 1/4 cup warm water and 1/4 tsp sugar if I am using active yeast ?
Will overbeat make it dense?
Hi, Kim. Yes overbeating will cause the bread to become dense. Active dry yeast – If using instant, there is no need to reactivate the yeast in warm water.
My question is do I still need to add the 1/4 cup warm water and sugar to the mixture or just ignore these two?
You should use them with active dry yeast.
I’ve been cooking for years but have only tried to make bread a few times and it never turned out the way I hoped, until I found this recipe, which has been absolutely amazing every single time I have made it and has actually given me the confidence to try making other types of bread again.
Any time I want to have garlic bread, I bake this recipe the night before and then roast some garlic, mix with butter and herbs, cut this loaf in half and spread it on, then bake it for 30 minutes in foil before a final toast under the broiler with some parmesan.
A couple of notes that I hope might be helpful to somebody – I prefer to weigh my flour for consistency of measurement and have played around with different weights per cup making this recipe. Honestly, the bread has turned out perfectly fine at every weight but the one that I find easiest to work with is 140 grams per cup, using King Arthur bread flour. That means 210 grams for Step 2 and 245 grams for step 3. I also weigh the 1 cup of hot water and use 240 grams for that. With these measurements I get consistent results every time. I tried 150+ grams/cup for the flour and the dough was crumbly, though the bread surprisingly still turned out fine. I also tried the 120 grams/cup that King Arthur themselves recommend in their recipes and I found it too sticky to work with and had to work in quite a bit more flour just to be able to handle it on the mat in the loaf-forming step. At 140 grams/cup, it’s perfect.
I also use Diamond Crystal kosher salt which is less salty per volume than Morton’s, so I double it to 1 tbsp and it seems just right.
Otherwise I follow the listed instructions every time, using my Kitchenaid with the flat beater, proofing the dough for both rise times in my oven with the light on, and it turns out beautiful and delicious every time.
Thanks for this easy and tasty recipe! I will be making this one many more times.
This is my second time making this most delicious bread, nothing says love like a freshly made bread. I make bread weekly and this is one of the easiest recipes I have made yet . So thank you for making and sharing this recipe with us. Colleen aka LiiNah Noriega DeLand FL.
Thank you, Colleen! We’re so happy to hear you enjoy the recipe.
This dough turned out too sticky to handle
Never mind. My error. Thank you.
Please confirm that the total water is 1 & 1/4 cups for this recipe. Followed the directions as they were but it does not firm a dough. It forms crumbles. Feel like I just wasted ingredients. Thank you
I’ve made this recipe three times and the dough has not been particularly sticky either of the three times and the bread has come out a little more dense and a little less fluffy than I expected. Any suggestions?
Hi, Tom. I’m sorry the recipe is not coming out perfectly. Being as I’m not in the kitchen with you I can only suggest making sure you “Measure the flour correctly. Aerate, spoon, and swoop level.” and don’t be tempted to add more flour at any time. Also, your kitchen might be cooler than our kitchen. Try rising the dough a little longer. I hope this helps.
Hello!! I was wondering if I could make the dough and refrigerate the night before baking( after shaping)?Thank you so much,
Terry
Although I have never tested refrigerating the dough I think it’s possible. I would make it through the mixing process, place it in an oiled bowl, cover tightly, then refrigerate. The next day I would bring it to room temperature then proceed starting with step 5. I hope this helps.
This is great bread I put a tablespoon of my sourdough starter in it it was super yummy