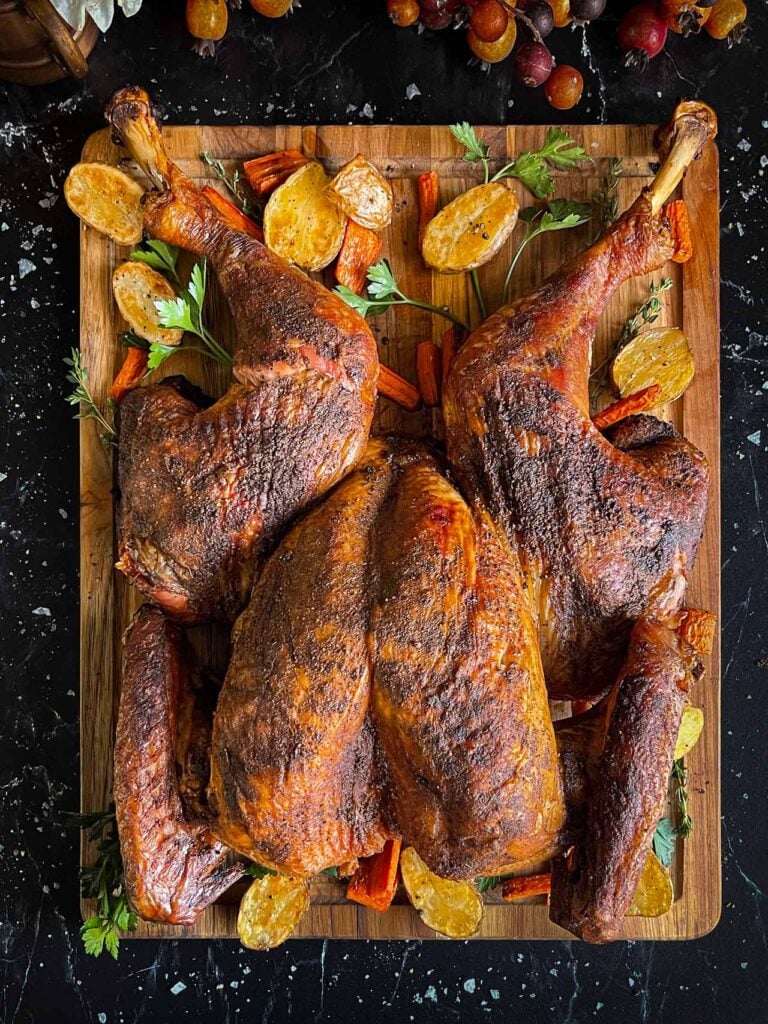
Dry Brined Spatchcock Turkey


This Dry brined spatchcock turkey is faster, crispier, and more tender and juicy than the traditional way of preparing your Thanksgiving and Christmas culinary cornerstone.
Your friends and family will rave over this turkey. Not only does it get to the table faster, but the crispy skin and juiciness of the meat will astonish them.
Why This Recipe Works
Being able to serve up a prepared turkey in a couple of hours is reason enough. But there is so much more.
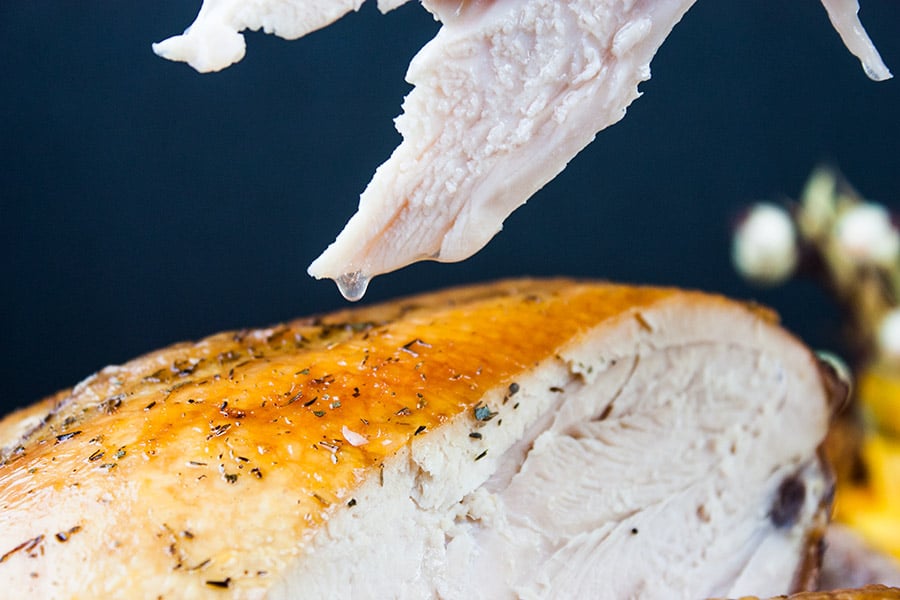
The dry brine introduces flavor into the meat in such a way that the eyebrows will go up on that first bite. The meat is tender, juicier, and has the crispiest skin you have ever had.
The fact that it’s done in a fraction of the time is just an added bonus.
This gives you more time to hammer out the rest of the meal and/or spend time actually visiting with friends and family instead of running around the kitchen in a frenzied panic.
And during the holidays, isn’t that what it’s all about in the end?
If this is the first time you are considering preparing the turkey this way, do it. I guarantee this won’t be the last time you do it.
And if you’re thinking about sides for your holiday meal, our green bean casserole, mashed potatoes, southern cornbread dressing, and crescent rolls are a good place to start.
And leftovers? You know I am whipping up a leftover Thanksgiving pie! I almost look forward to this as much as the day itself.
Why Should I Dry Brine Turkey?
Dry brining the bird does several wonderful things.
First and foremost, it flavors the turkey; we all know that. But what happens is nothing less than marvelous.
The salt pulls the moisture out of the bird and then goes back in, pulling in the salt and other spices back into the bird.
Don’t Sweat The Recipe is supported by its readers. We may earn a commission if you purchase through a link on our site. Learn more.
Have you ever had a bite of turkey, and on the outside, there was good flavor but inside was just meh? Me too!
A dry brine allows the brine (you can call it a dry rub, too) to actually go deeper than the surface and penetrate throughout all the meat. So when you take a bite, the seasoning is all the way through.
Furthermore, that salt makes the protein bind the moisture more tightly. What does all that mean?
It means during the cooking process, the muscles of the turkey are prevented from shrinking and squeezing out water during the cooking process. And that means a much juicier bird!
Science, you gotta love it.
A wet brine can produce the same results, and we have used a wet brine in the past. But wet brining will not give you that crispy skin.
This is the way if you want it all: a deliciously moist, crispy-skinned turkey that makes people’s brains melt.
Dry Brine Ingredients
Salt is the key to dry brine, or wet brine, for that matter. After that, the seasonings are entirely up to you.
Since we did this turkey for Thanksgiving, we decided to keep to the traditional flavors of the season.
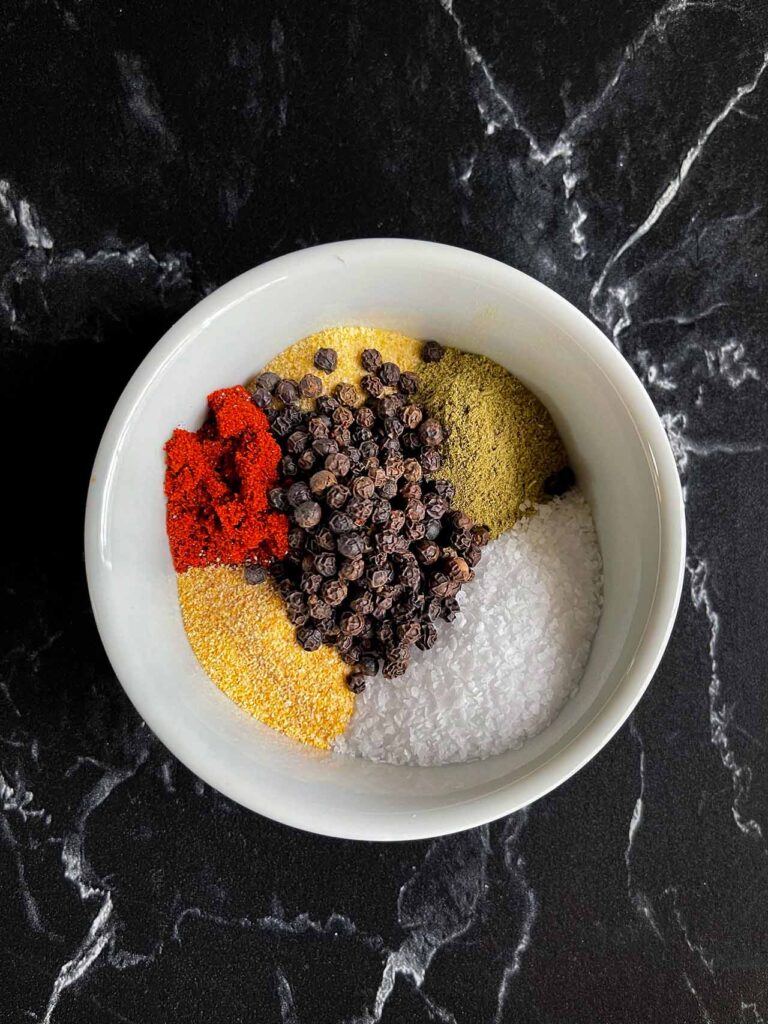
- Kosher salt – The base of the brine. Gotta have it.
- Poultry seasoning – Thyme, sage, marjoram, and rosemary: classic Thanksgiving spices.
- Paprika – Adds a bit of color and seasoning to the bird
- Black peppercorns
- Garlic powder
- Onion powder
Add these ingredients together and place them in a spice grinder. Grind for approximately 1 minute until completely pulverized and mixed.
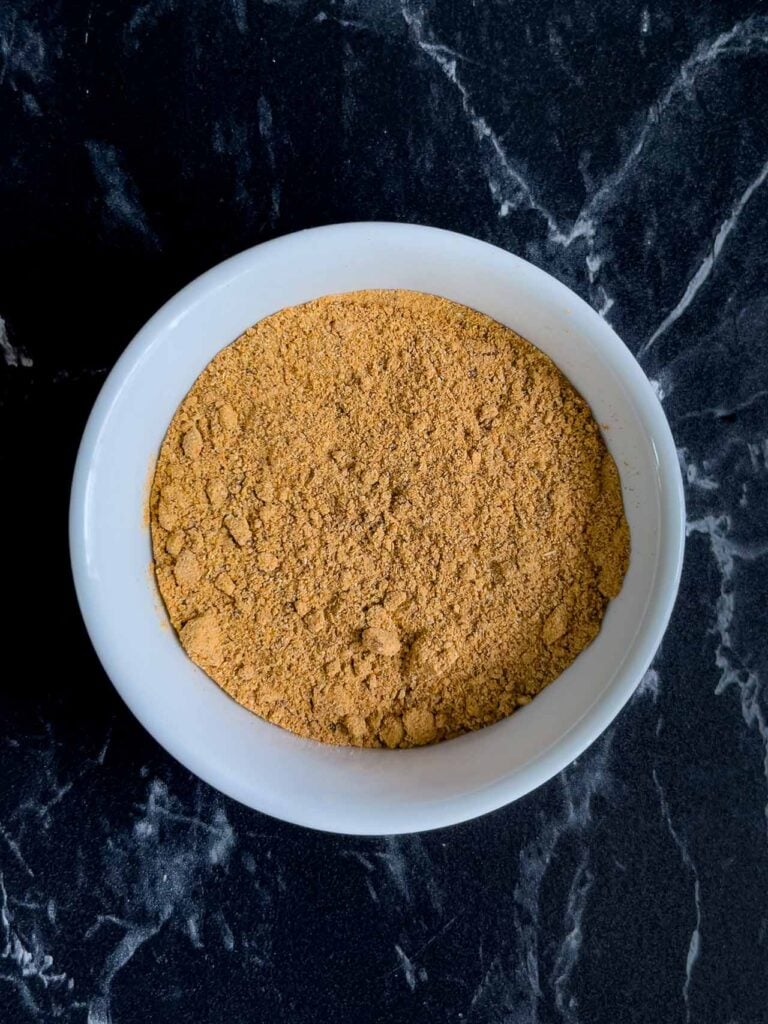
If you don’t have a spice grinder, no worries. Just use black pepper instead of peppercorns and mix the ingredients in a small bowl until well combined.
note
If you don’t have a spice grinder, get one. It’s less than $20 bucks, and you will use it more than you know. It’s good for so many things and does its job well. It also makes a fabulous gift, useful and inexpensive!
How To Prepare Spatchcock Turkey
For this recipe, we dry brined for 48 hours and then allowed it to dry overnight. This is our recommendation, but you can brine for just 24 hours if you like.
note
If you have a frozen turkey, you must plan on thawing it before preparing it for the dry brine.
According to the USDA, thawing the bird in the fridge is the safest method. Allow one day for each 4 – 5 pounds of weight of the turkey.
Remove the turkey from its packaging and place it on a large baking sheet. Remove any parts of the turkey stuffed into the cavity and save or discard.
Pat the turkey dry with paper towels. Transfer to a large cutting board and turn it breast side down.
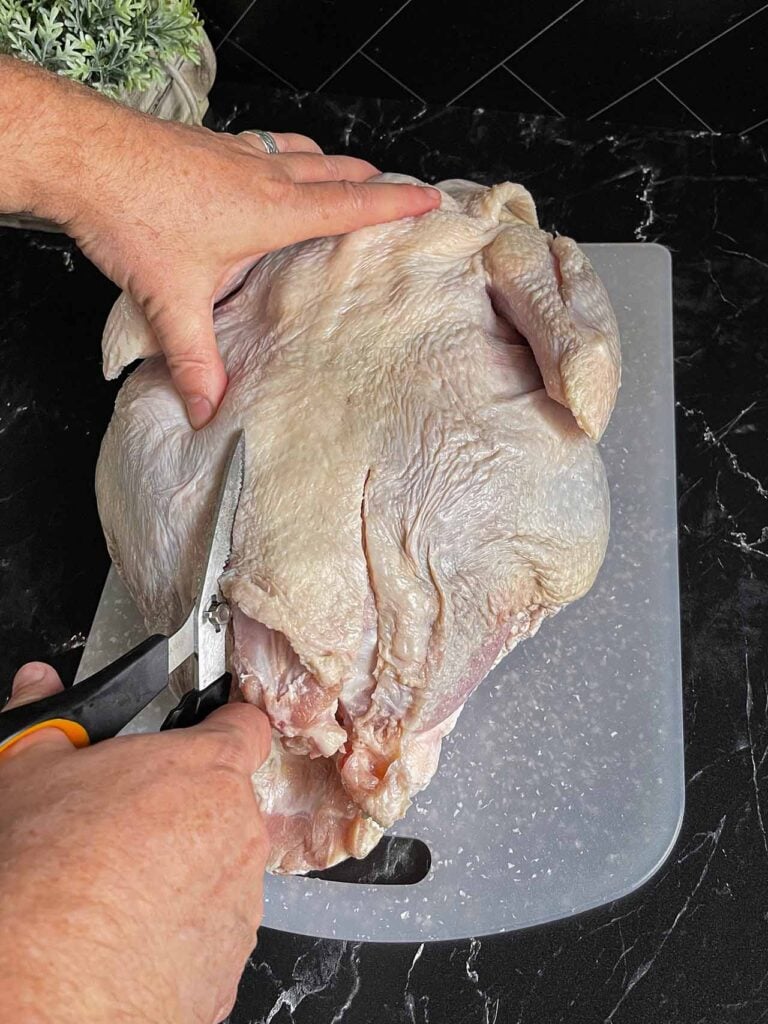
Locate the backbone. Cut along the side of the backbone on both sides through the ribs using kitchen shears.
If you find this difficult, cut through the flesh of the bird along the backbone, then use your shears. This will help you see it a bit more clearly.
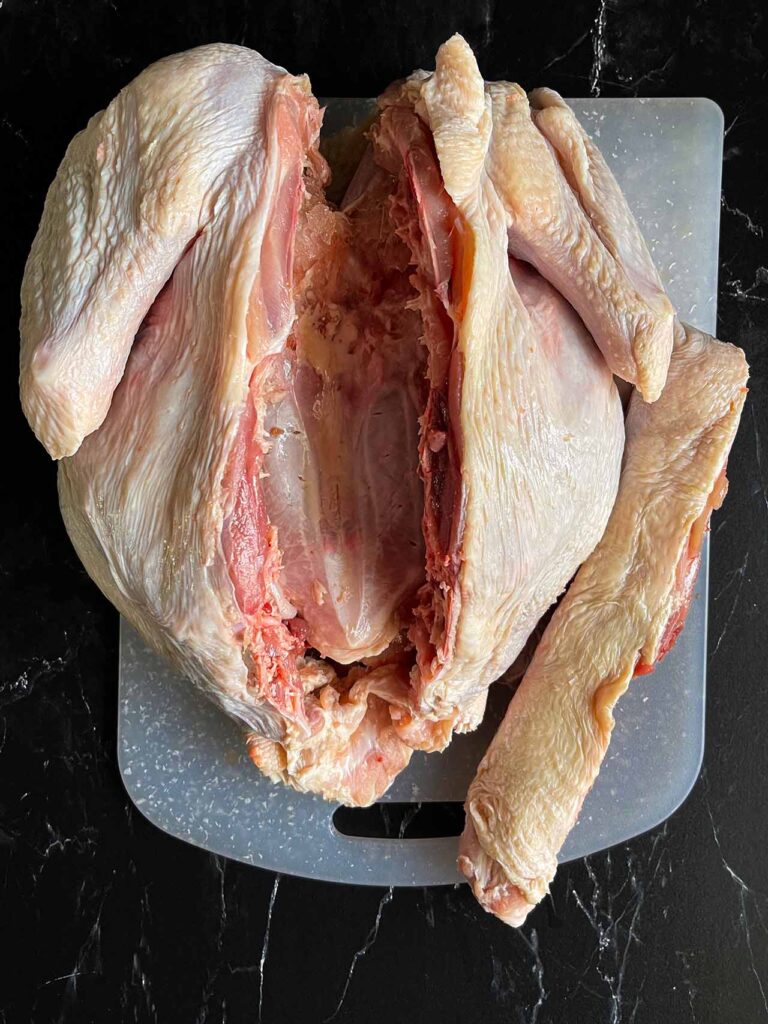
Once the backbone is removed (save it for stock!), get some paper towels and dab up any residual moisture in the cavity of the turkey.
You may also see extra skin. Trim that up.
Turn the turkey over and turn it. With the breast bone towards you, spread it flat and push it down hard with the heel of your hands, breaking the breastbone.
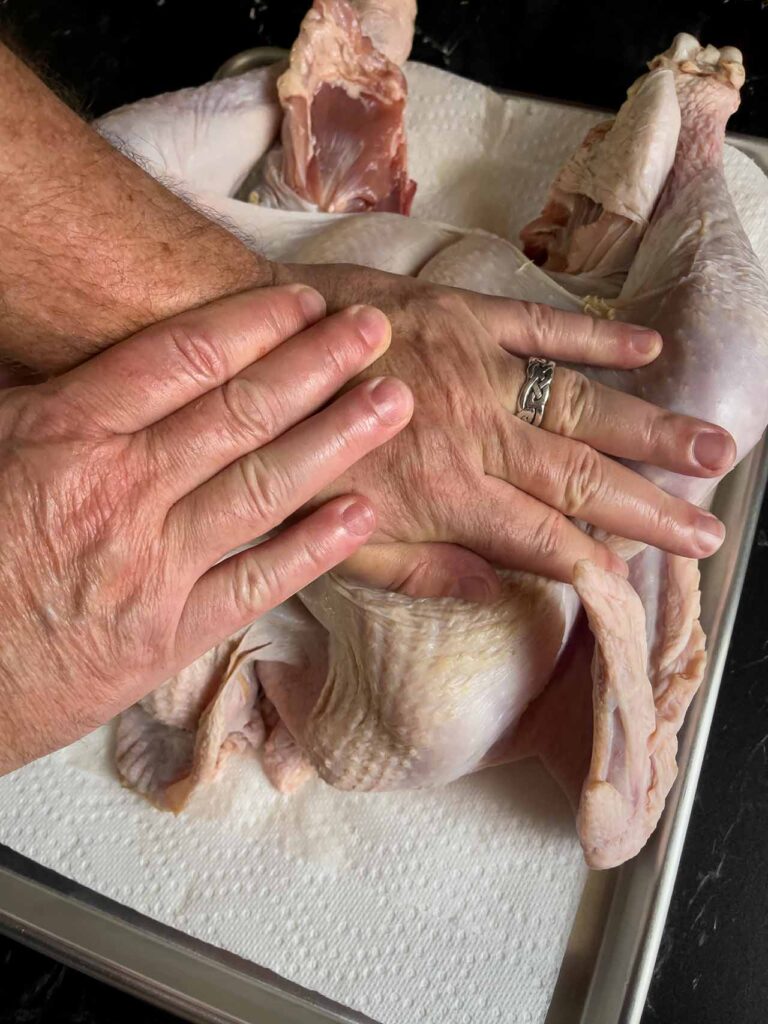
If you find this too difficult, use the back of a kitchen knife to crack the breastbone at the top to get it started, then press down hard.
Pull large sheets of plastic wrap and lay this down on a baking sheet. This will keep the dry brine from getting all over the place when applying it to the turkey.
Turn the bird back over, breast side down, on the prepared baking sheet and apply some of the prepared dry brine to the inside of the bird, about a third, reserving the rest for the other side.
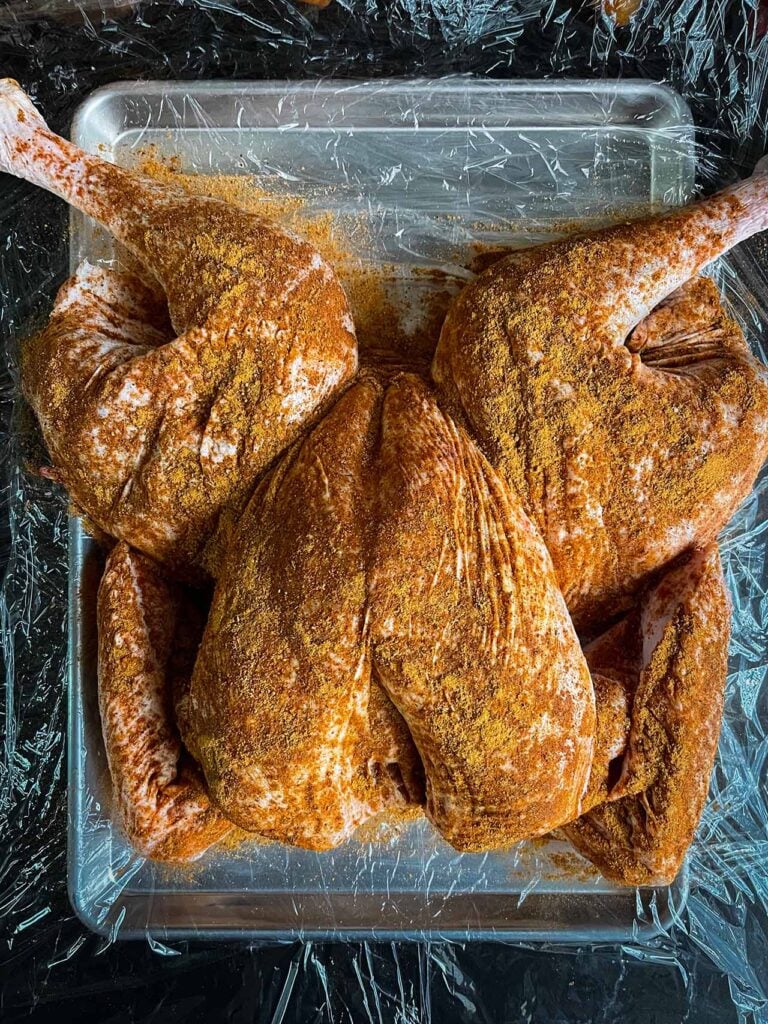
Turn it back over and apply the rest of the brine over the bird, concentrating on the breasts, thighs, and legs.
Once all the brine has been applied, wrap it in plastic wrap and store it in the refrigerator for 48 hours.
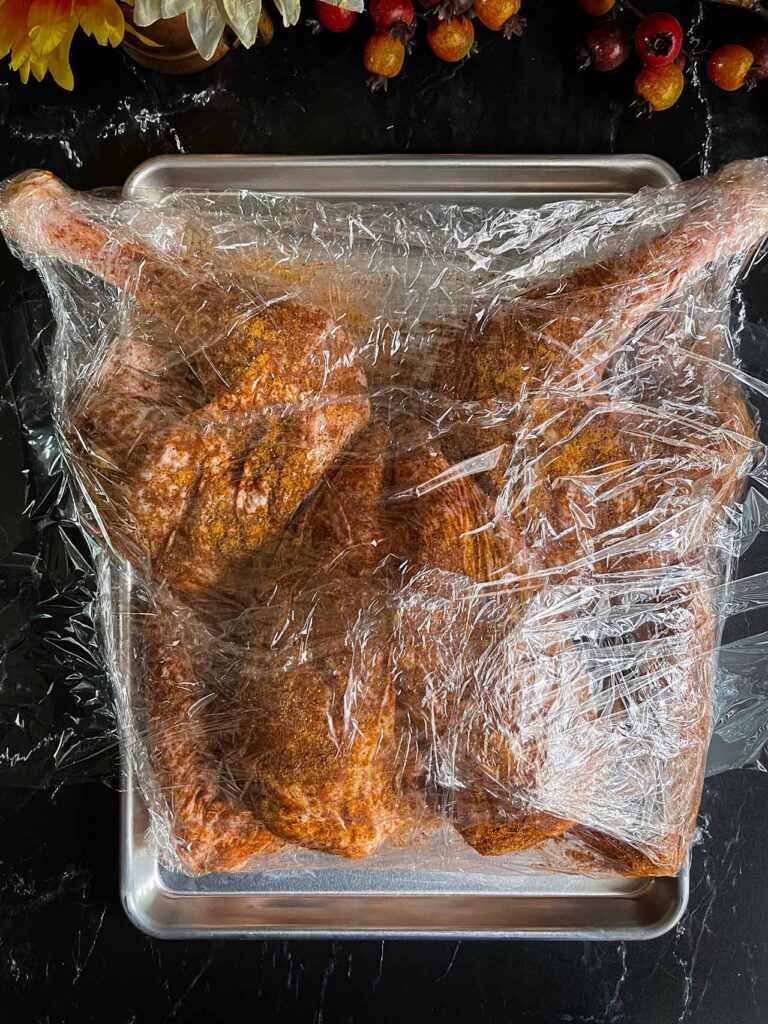
After the 48 hours have passed, remove the plastic wrap, and dab up any moisture that may have pooled during the brining process.
Place back into the refrigerator to dry overnight for up to 24 hours.
How To Cook Spatchcock Turkey
Here comes the easy part, cooking the turkey. And what’s really nice about this is that you can cook it any number of ways.
As I have a Masterbuilt electric grill/smoker, I opted to use it. This freed up the oven for all the Thanksgiving sides.
Remove the turkey from the refrigerator. You can let the bird sit out at room temperature for about an hour before cooking.
Spatchcock Turkey In An Electric Grill Or Smoker
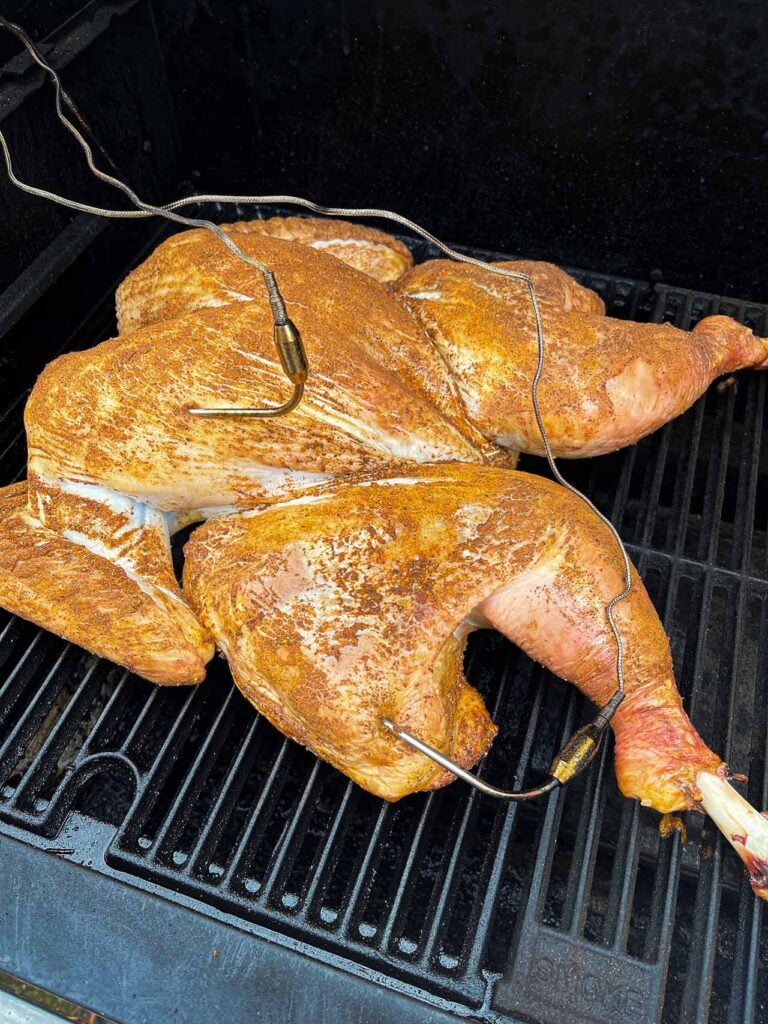
Set the temperature to 350 degrees. Place the turkey on the grill grates and tuck the wings down under the bird, breast side facing away from the heat source.
Cook for approximately two hours until the internal temperature of the thickest part of the thigh reaches 165 degrees F.
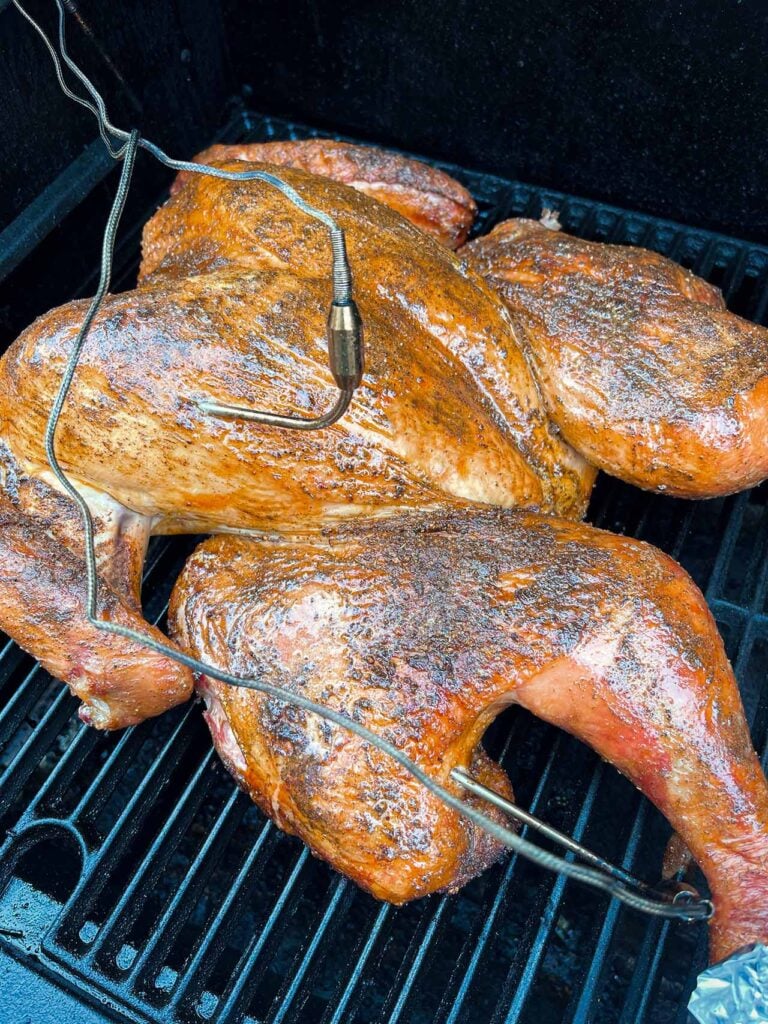
Remove, and let the turkey rest for at least 20 minutes until carving.
Spatchcock Turkey In The Oven
Preheat the oven to 350 degrees. Place the bird on a wire rack, tuck the wings down, then place it on a foil rimmed baking sheet or large roasting pan that will accommodate the flat turkey.
Cook for approximately two hours until the internal temperature (use a meat thermometer or instant-read thermometer) of the thickest part of the thigh reaches 165 degrees F.
Remove, and allow to rest for at least 20 minutes until carving.
Spatchcock Turkey On A Kettle Grill (Weber Style)
Turkeys take up a fair amount of space on a Weber. I recommend 14-pound turkeys or less. Set the grill up for indirect cooking.
Place the turkey on the grill, breasts facing away from the coals, and cook, maintaining 350 degrees.
If you notice areas getting too much direct heat, shield parts of the bird using aluminum foil to prevent burning.
Cook for approximately two hours until the internal temperature of the thickest part of the thigh reaches 165 degrees F.
Remove, and let the turkey rest for at least 20 minutes until carving.
Finishing Up
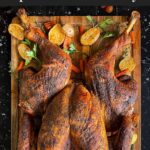
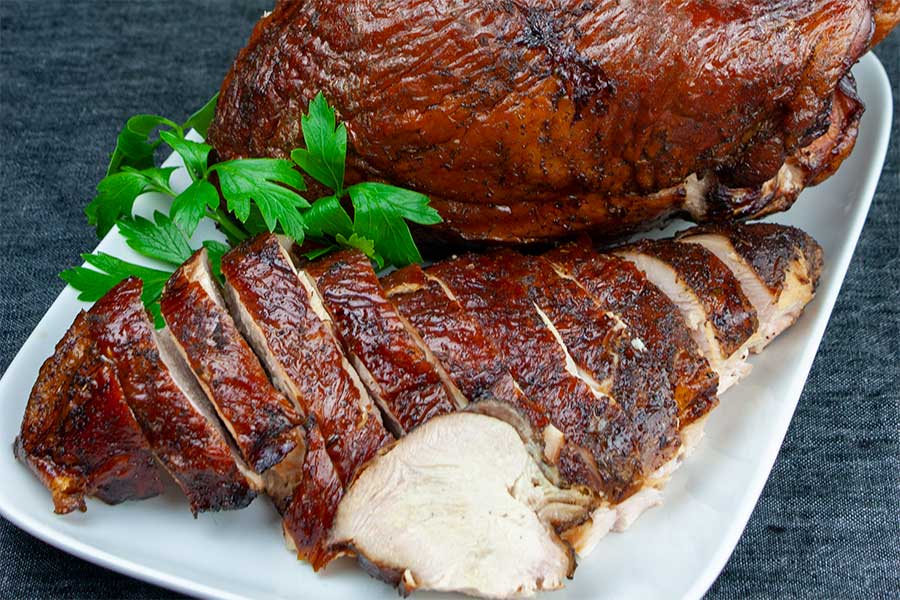
Once the spatchcocked turkey has rested sufficiently, carve it up. I typically remove the legs, wings, and thighs.
Then I remove the breasts, one at a time, and cut them into clean slices. Thighs I debone, then chop the dark meat into tasty little morsels.
Legs I leave whole because who doesn’t want to hold a large crispy skinned turkey leg in one hand and a drink in the other!?
If you have had issues with turkeys in the past, this dry brine turkey recipe will take the guesswork out of the equation for you.
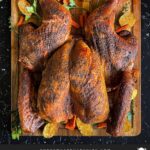
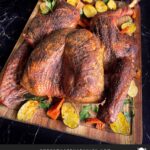
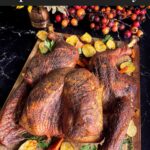
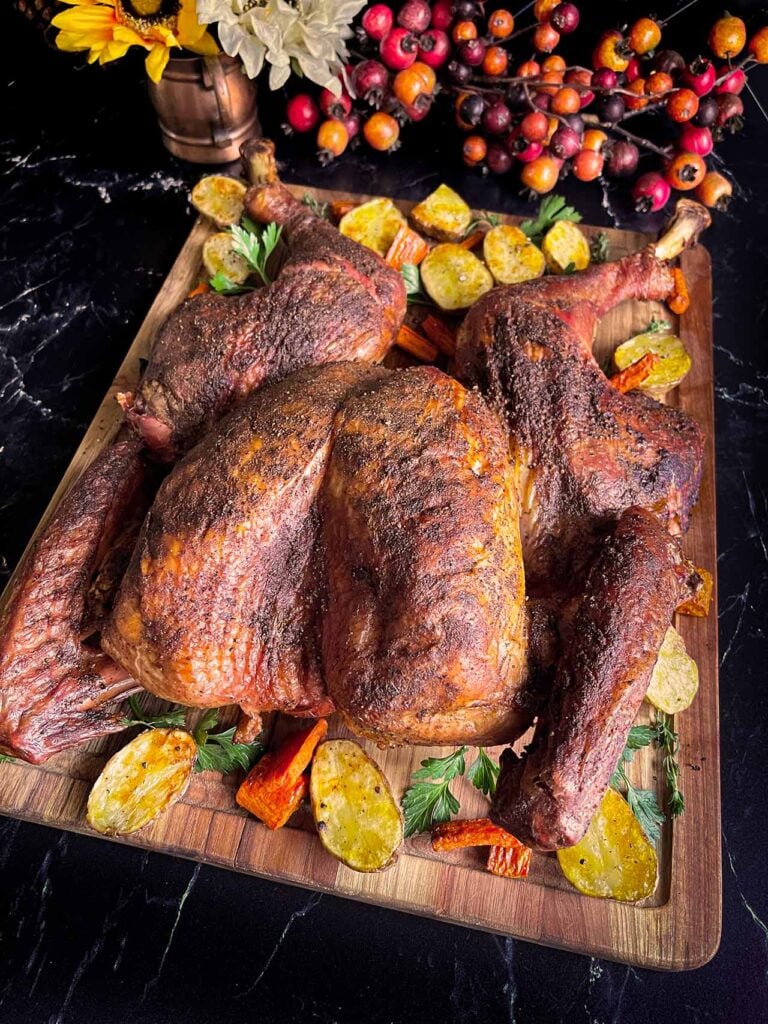
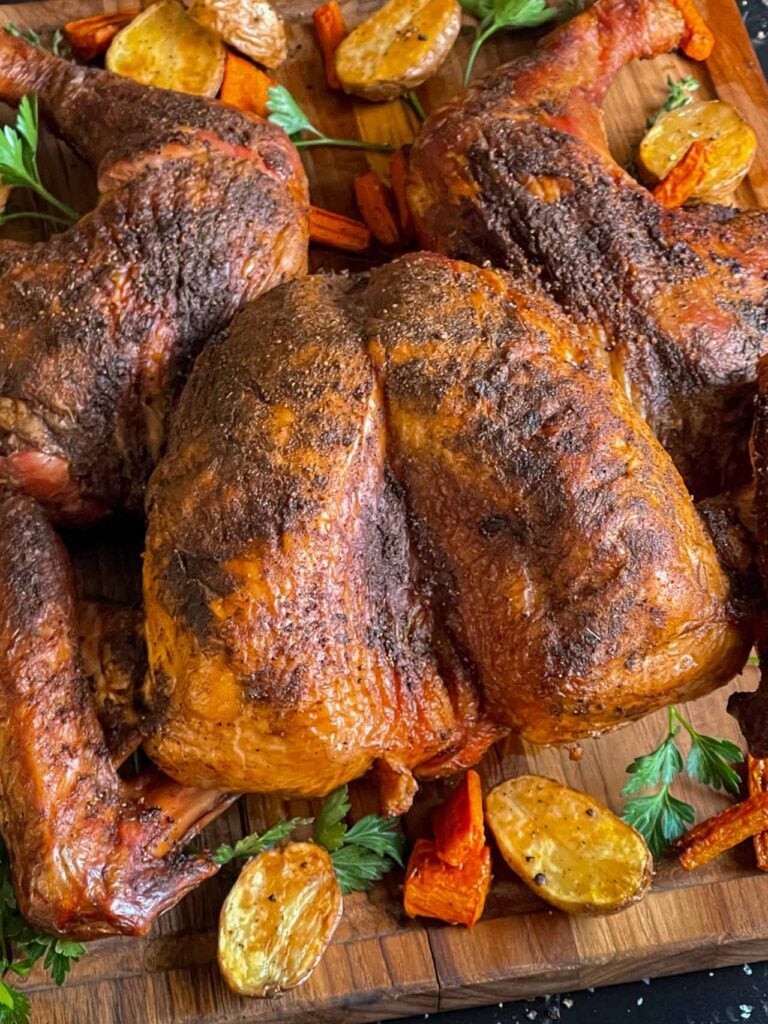
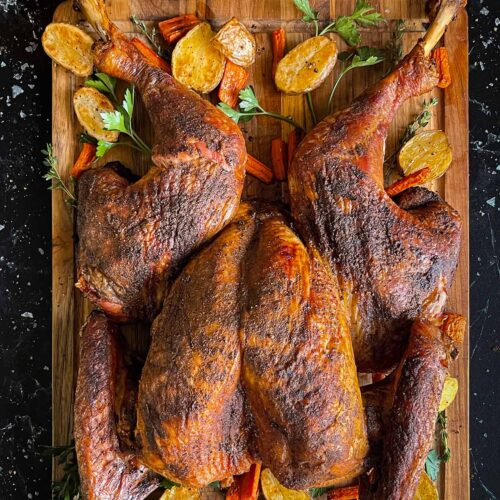
The skin of the turkey is going to be crispy and golden brown. The flavorful meat will be incredibly moist and juicy. And your friends and family will sing your praises.
This spatchcock turkey recipe will make any future Thanksgiving and Christmas feasts all the easier and more enjoyable!
Tips
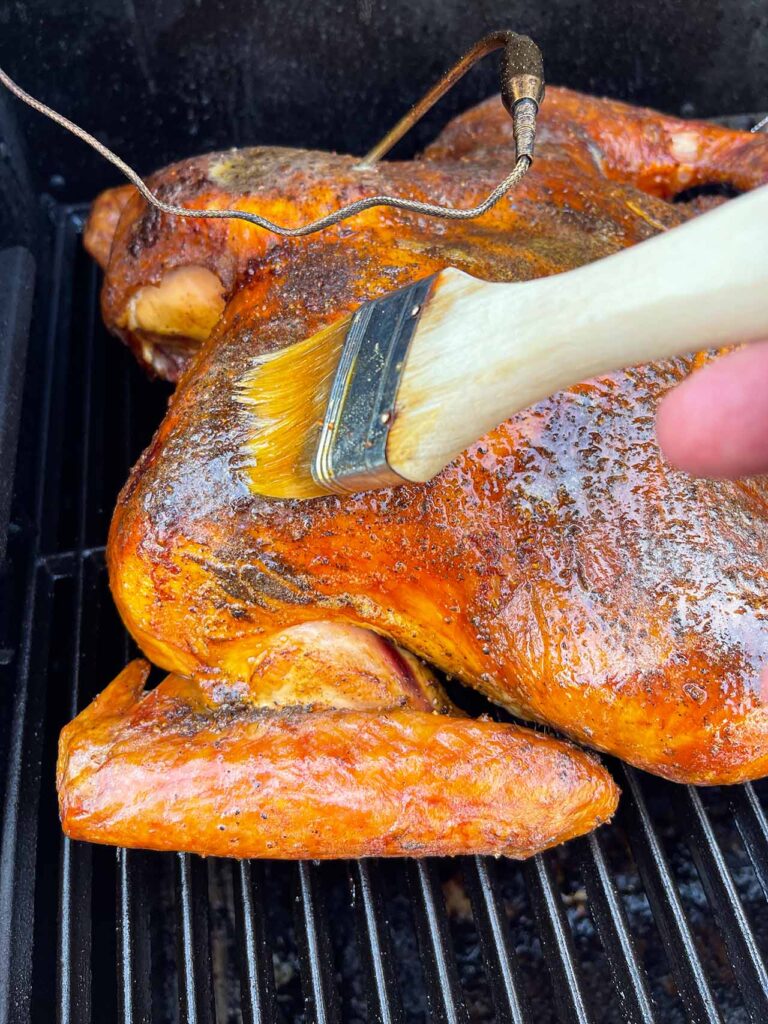
- As that skin starts to crisp up, you may want to brush some melted butter over it. Better yet, make herbed butter and just paint it on.
- You are cooking to temperature, not time. While 2 hours is a pretty good estimate, that’s all it is. Our 14 pound turkey took exactly 2 hours. Between resting and carving, you can count on a solid 30-45 more minutes before you’re eating, so plan accordingly.
- If you notice the tips of the legs taking on too much color, just wrap them in tin foil for the remainder of the cook.
- It’s common practice to check the temperature in the thickest part of the thigh. I also check with my instant-read thermometer in the thickest part of the breast.
- A larger turkey will take longer, and smaller birds less. The rule of thumb is 10 minutes per pound for a spatchcocked turkey.
Variations
- Adding cajun seasoning to this dry brine recipe will make an excellent turkey with a kick.
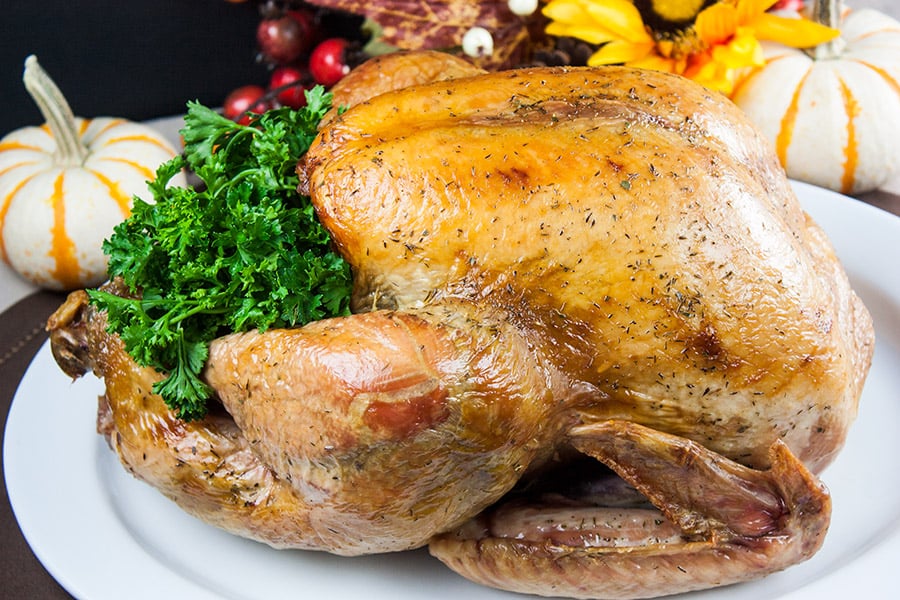
- If you want to dry brine a whole turkey, i.e., not spatchcocked, check out our other dry-brined turkey recipe. The same method, but if you’re wanting that beautiful, “Norman Rockwell” looking bird, that’s it. Go check it out!
FAQs
Spatchcock is the method of removing the backbone and cracking the breast bone of poultry to allow the bird to lay flat while being cooked. It allows for faster cooking time and produces crispier skin.
Roughly 2 hours for a 12-14 lb turkey at 350 degrees Fahrenheit.
Check the temperature with an instant-read thermometer in the thickest part of the thigh without touching the bone, as this can cause a misreading.
When the internal temperature of the thickest part of the thigh reaches 165 degrees Fahrenheit.
Place turkey meat in an airtight container and store it for a few days in the refrigerator.
Other Fabulous Turkey Recipes
Dry Brined Spatchcock Turkey Recipe
Ingredients
Dry Rub
- 2 tbsp Kosher salt
- 1 tbsp Black peppercorns
- 1 tbsp Paprika
- 2 tsp Poultry seasoning
- 1 tsp Garlic powder
- 1 tsp Onion powder
Turkey
- 14 lb Turkey
Instructions
- Combine dry brine ingredients in a spice grinder and grind until powdered.2 tbsp Kosher salt, 1 tbsp Black peppercorns, 1 tbsp Paprika, 2 tsp Poultry seasoning, 1 tsp Garlic powder, 1 tsp Onion powder
- (If you do not have a spice grinder, substitute black peppercorns with black pepper. Mix in a small bowl well to combine)
- Spatchcock the turkey. With heavy duty kitchen shears cut along each side of the backbone, removing it. Flip the turkey over and using the heels of your palm, crack the breastbone and lay flat.14 lb Turkey
- Turn back over and rub approximately 1/3 the dry rub on the underside of the turkey.
- Flip back over, breast side up, and rub remaining dry brine over the turkey, concentrating on the breast, thigh, and leg areas.
- Wrap the turkey in plastic wrap and refrigerate for 24-48 hours.
- After the brining time, remove the plastic wrap, dab up any residual moisture that may have pooled, and refrigerate overnight, up to 24 hours.
- Cook at 350 degrees F (on/in your preferred heat source) for approximately 2 hours or until the deepest part of the thigh reads 165 degrees F with a meat thermometer or instant-read thermometer.
- Remove and allow the turkey to rest for at least 20 minutes before carving.
- Serve and enjoy with your favorite side dishes.